Showing posts with label DIY. Show all posts

Monday, August 13, 2012

From Old School to Modern School

I am getting ready to start back to school and trying to revamp my classroom with all of the great DIY inspiration I have had on Pinterest over the summer.  I found a great old desk and chair over the summer at a garage sale and knew I had to have it.  


I wasn't sure exactly what I wanted to do, but figured I would cross that bridge later.  Then it came to me!  I decided to make it into a fun bright place for the kids to sit during independent work.  


First I used a little primer spray paint to make sure the paint stuck!


Then I went with a turquoise color and decided to accent with orange.  I thought those were some fun colors that weren't too boyish or girlish.  Then I decided to paint the top of the desk with chalkboard paint.  This will be a great spot for them to practice writing their site words!  I am so excited!


Sunday, August 12, 2012

It's Super Peyton!!


Peyton needed a her own Superhero cape so we decided to make one for her.  I found a pattern here. We  had to do a little tweaking because it was made for a bigger kid, but all in all it was so easy!  No sewing for the cape part at all.  We only had to break out the sewing machine for the felt appliqué we put on it.


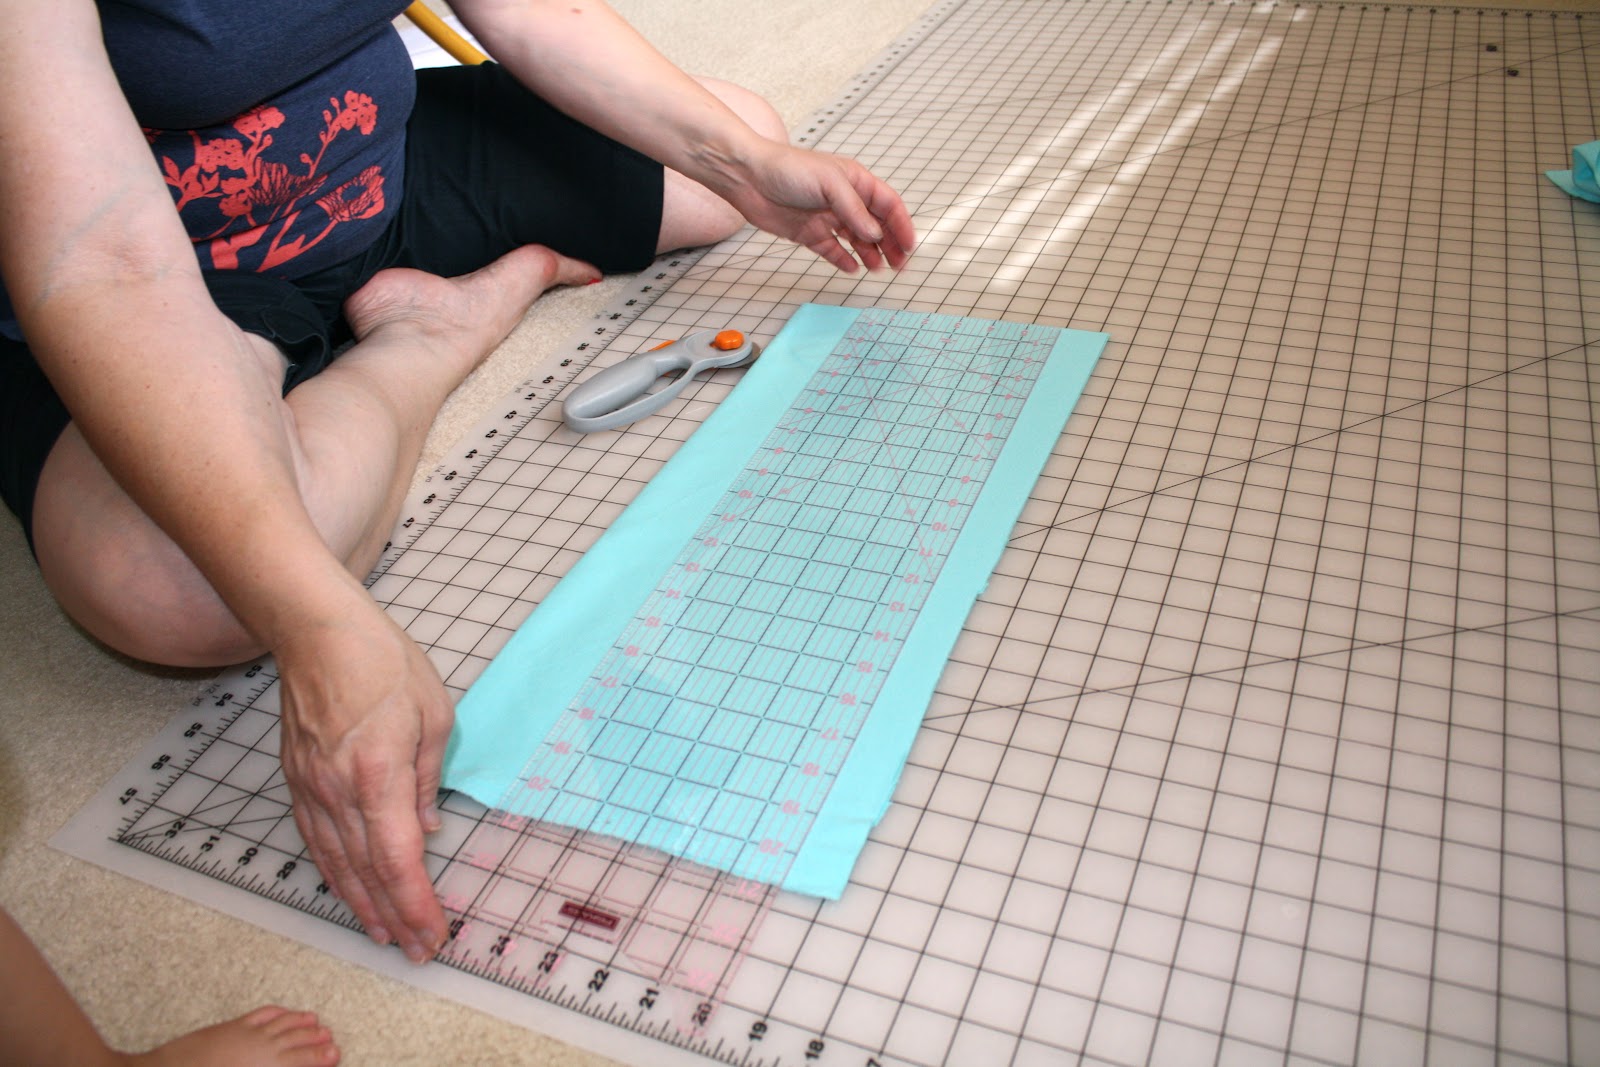
We started by cutting a piece of knit fabric to the right size.  We decided to cut it to 18x22.


Next we used the pattern to cut out the shape and added some velcro.  And Voila! we were done with the cape itself.  But we thought that was way too Plain Jane for Peyton


So I grabbed some felt and started designing Peyton her own Superhero emblem.  I used spray adhesive to stick it down and then sewed around the edges to make it more secure


Ta-Da!! It's Super Peyton!!  She had so much fun flying around the house in her new cape!

Friday, July 20, 2012

DIY Chevron Disaster

I LOVE LOVE LOVE anything with chevron!  We have been trying to order chevron fabric from Riley Blake for a while and it is always on back order.  I just had to do something with chevron though...I'm a little impatient.  

So I looked through all of my craft supplies and saw that I had a blank canvas, plenty of paint, and some painters tape.  Everything you need to make an awesome piece of DIY chevron wall art!  I quickly scoured Pinterest for a tutorial I could use to make this awesome piece of art.  


Then I very dangerously and optimistically thought, "This isn't going to be that hard at all."  As  I looked through the tutorial and looked at my supplies, I realized that I really didn't have the right size tape because my canvas was pretty small.  But as I said earlier, I am very impatient and just had to have something chevron NOW!


So I very strategically started measuring and marking the middle of the canvas to decide where to lay the tape.  This is where the disaster started.  I spent the next 30 minutes taping and retaping the canvas in a very frustrated way.


I finally ended up with this very lovely very NOT chevron design.  I gave up and decided that this is what it was going to look like and went ahead and started painting.


When it dried and I took the tape off I showed it to Mike to see his reaction.  He very kindly told me that it looked like a road sign.  I then very maturely stuck my tongue out at him.  SO here you have it...my road sign chevron art.  

This is one of the first pieces I have worked on for the gallery wall that is going to go in the craft room.  I have decided to keep it and still put it in the gallery wall.  When people ask it will be a very meaningful piece that signifies that things don't always go the way we think they will.  However, we will all know that it is just because I am too impatient :)

Monday, July 9, 2012

Pinterest Challenge


Well here it is...my first major attempt at one of my pins on Pinterest!  We made more trips to Home Depot than we really wanted to, but all in all it went pretty smooth for the first time.  


Here was my inspiration:


Materials Needed:
4 Crates - We got them at Joann's.  They were $12, but we used a coupon and got them for $7.
Wood for the base - You will need to measure the crates to decide on length of cuts for the window frame base
4 L Brackets 
Wooden Dowels 
Wood Glue
Stain
Wood Screws


First we set the crates together to stage them and take measurements for the base.  We got 2 long boards cut  at 27 inches, 3 at 21 inches, 2 at 9.5 inches.  We got 1x3 pine boards, but what we didn't realize was that its not actually 3 inches wide.  So our base isn't perfect but we learned for next time.  Apparently there is a chart at Home Depot that explains this.


So we were off to Home Depot for all (well we thought all) the supplies.  Peyton was with us so it was definitely an event!  We had some very nice guys help us out with the cutting and give some helpful tips.


Next we mixed some wood putty to cover up the holes from the staples on the sides of the crate and set them to the side to dry.


We used wooden dowels to attach the boards for the base to each other.  This was definitely the most challenging step of the whole process!  We did not perfect it and need more practice with this for sure.  We lined the boards up with each other and marked where to drill our holes.  When we put it all together we realized we got off somewhere so the base isn't squared up.  We added L brackets to the corners to make it more secure.


The wood putty had dried and the crates were ready to be sanded and stained.  We just lightly sanded the wood putty areas and to make sure there weren't any areas with splinters.  This was mine and my mom's first attempt at ever staining something.  Its a lot easier than what I thought it would be.  Besides the mess, I think I like it better than painting.  We really loved the way the color turned out.  


After the stain has dried we put the crates back together to screw them in.  We used a ratchet to make sure they stayed still while we were drilling.


After talking with the guy at Home Depot, we decided to countersink the screws so that it looked a little more professional. That means that the screw will be sunk into the wood so that you can putty it and hide the screw.  This was very intimidating because it required a new tool.  But again we found out it was not hard at all.  We used the countersink tool to drill a hole and then put the screw in.  Ta-da...we know how to countersink!


Next to fill in that hole....this was another difficult part.  You definitely need to measure twice (or 4 times) and cut once.  We had to cut twice.  Measure the inside and then simply put the screws in the same way we did before on the sides then screw the bottom pieces on.  Next we attached the base to the crates and stained the box.  Then we polyurethaned the whole thing.


And here is our final product!  My inspiration had more sophisticated things in the crates, but we liked this coffee table because it would give us some more space for all of Peyton's things.  Help us keep it off the floor easily.


Ok so maybe the stuff isn't going to stay off the floor for very long....but we have a place to put it when she goes to bed!!


I am in love with doing wood projects now!!  My next project is another coffee table I found on Pinterest, but I want to turn it into a craft table for Peyton with a paper roll attached!




Tuesday, June 5, 2012

Minnie Mouse Party - Part 2

Now lets look at all the delicious food that we made for the party.  And of course everything had to be named especially for Mickey Mouse Clubhouse since that's Peyton's favorite show!


We decided to have both cupcakes and a cake because to get the cake I wanted was way too expensive to get it big enough for everyone.  Plus I have recently become addicted to the new cupcake place by our house :)


The cake turned out absolutely fantastic!  I got the idea for the cupcake here.  Sweet Crumbs Bakery did great with the picture.


The cupcakes were from Kristen's Cupcakery.  They were strawberry lemonade and so delicious.  They were definitely the hit of the party.  I had originally ordered 1 dozen I thought, but when I went to pick them up there were 2 dozen.  I was very happy about that by the end of the party because there were only 3 left!  


For lunch we decided to have hot dogs because of the song on Mickey Mouse Clubhouse and because they are one of Peyton's favorites.  We called them "Hot Diggity Dogs".  They were so simple and delicious, just hot dogs wrapped in crescent rolls.


For the drink we had pink lemonade.  I found the straws and milk bottles on Etsy and then I made the labels.  Vwry simple and the kids loved drinking out of them.  They especially loved that they could take them home.  I overheard several kids saying they were going to use cups like these at their parties ;)


We also had some little smokies wrapped in bacon that we called "Pete's Little Smokies".  Also another hit.   I think I could have stood by this bowl the whole party and been happy!


Another one of Peyton's favorites is a plain old sandwich so we decided to have "Clubhouse Sandwiches".  Very simple....simply lay out all the fixins for a sandwich and you're good to go.  

We also had "Minnie Mac and Cheese" but somehow I forgot to take a picture.  

Stay Tuned for Part 3 
To see all the fun activities we had for the kids!


Sunday, June 3, 2012

Peyton is 2 - Minnie Mouse Birthday Party Part 1

Last year, Peyton did not get to enjoy a party on her first birthday.  She was very sick on the day she was suppose to have her party so we had to cancel.  So this we year I just had to go all out.  She is obsessed with all things Minnie and Mickey and we are heading to Disney World later this week, so we thought it was very appropriate to have a Minnie Mouse birthday party.  In part 1 I will show all of the decorations that we did.  Then in part 2 and 3 I will show you the foods we ate and the activities we had for the kiddos.


On the mantle I put a banner that I made that said "Happy Birthday".  I got the idea from the pin.  I used my awesome Silhouette Cameo that I got as a graduation gift when I finished my Master's.  Then I tied strips of hot pink tulle between each banner piece.  On top of the mantle I put a vase and flowers that I found at Hobby Lobby.


I wanted to make special bags for the boys and girls so the girls got a Minnie bag and the boys got a Mickey bag.  Inside there were several Mickey Mouse Clubhouse goodies.  And I locked out and got them from the Dollar Tree.  They had a great selection of stuff for the kids.  Originally I had gone to Party City, but I was able to get more stuff for the kids at Dollar Tree.


I got this little sign from Hobby Lobby as well.  I found this play on words somewhere on pinterest and loved it.


We decided to spruce up the kitchen with these lovely curtains.  Also found this fabric at Hobby Lobby and at the last minute.  We saw it and just had to get it.  They were absolutely perfect for the party and super easy to make.  2 quick straight stitches across the top and bottom.


I loved the banner so much that I made one for the table too.  This one said "Peyton is 2".  I also made some black, hot pink, and light pink tissue pom poms.  You can find the tutorial for making these here.  In the back we have special Minnie Mouse and Mickey Mouse plates that we got from Target for only $3 each.  We also made a styrofoam Minnie head to put in a planter.  I got the idea for this here.  It was pretty simple to make and pretty cheap.  We already had the planter sitting around the house so all we needed were the styrofoam balls, a wooden dowel, and we used modeling clay to stick the big dowel into the planter with.  We then stuck the styrofoam balls together with the dowels and spray painted them black.  Then we spray painted the planter hot pink, let it all dry, and added the bow.

Stay tuned for Part 2!
 
Blog Template by Delicious Design Studio