Sunday, August 12, 2012

It's Super Peyton!!


Peyton needed a her own Superhero cape so we decided to make one for her.  I found a pattern here. We  had to do a little tweaking because it was made for a bigger kid, but all in all it was so easy!  No sewing for the cape part at all.  We only had to break out the sewing machine for the felt appliqué we put on it.


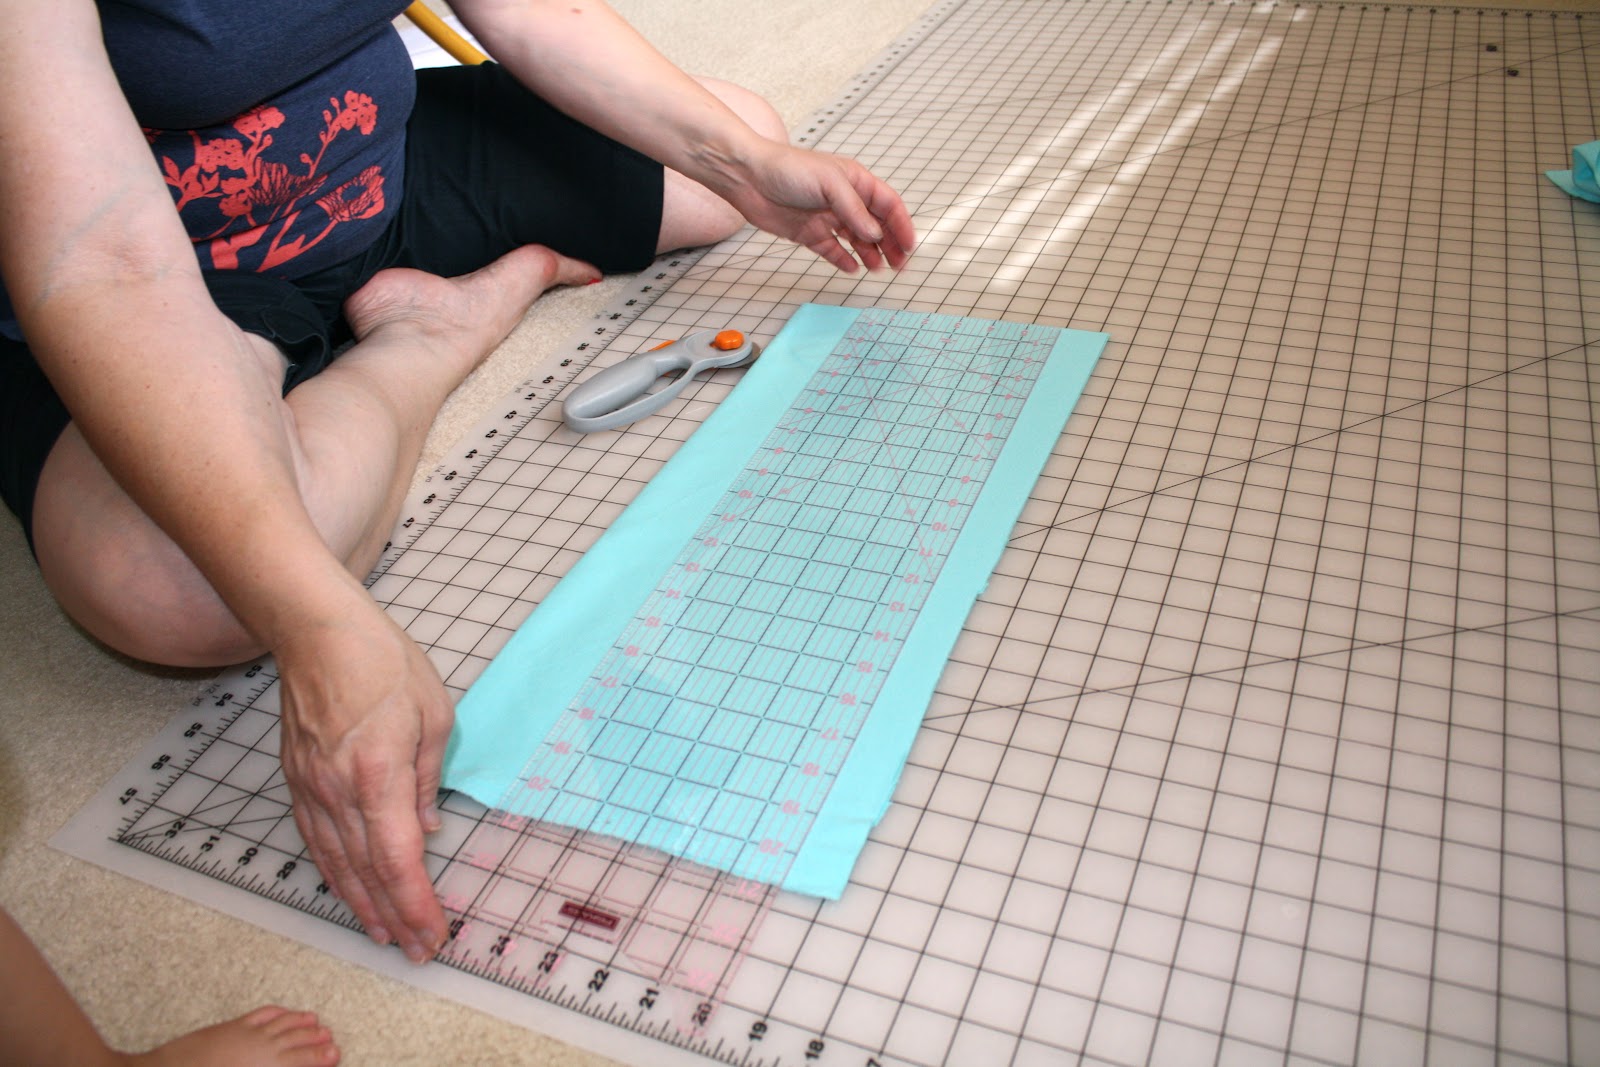
We started by cutting a piece of knit fabric to the right size.  We decided to cut it to 18x22.


Next we used the pattern to cut out the shape and added some velcro.  And Voila! we were done with the cape itself.  But we thought that was way too Plain Jane for Peyton


So I grabbed some felt and started designing Peyton her own Superhero emblem.  I used spray adhesive to stick it down and then sewed around the edges to make it more secure


Ta-Da!! It's Super Peyton!!  She had so much fun flying around the house in her new cape!

Thursday, July 26, 2012

Etsy Things I Learned Along the Way


Our Etsy shop has been open just over a year...oh how time flies!  My mom and I were inspired to open our shop after I had my daughter Peyton.  We were constantly making new things for her and wanted to share these special handmade things with the world.  So we got online, opened our shop, and started listing our items.  We thought at first that people would just...come.  I mean we've all seen the movie right?  

"If you build it, they will come"   

Apparently, not so much the case for your Etsy shop.  Your customers don't just magically appear coming out of the corn fields.

Over the past year we have made made mistakes, we have had successes, but most importantly we have learned A LOT!!  So I wanted to share with you some of the things that we have learned throughout our journey.  Maybe you will find something to try and help you be more successful!  

1. Photos, Photos, Photos
We are continuously looking at our photos and trying to make them better.  This has been one of the most challenging things for us since we are not really photographers.  It is so important for your photos to be clear, bright, and sharp.  Since our customers can't touch and feel our products, we have to show them how great they are with our photography.  We have found that a white background displays our products the best.  However, it has taken a lot of work to find the right white background to use.  And we still have lots of work to do.

Here is a photo from when we first started:

As you can see, the picture is not very bright and it has a definite red tone.  Not some of our best work.  We built a light box for ourselves and bought some lights to use for it.  And this is how most of our pictures turned out.  We had to do a lot of touch up afterwards on the computer.

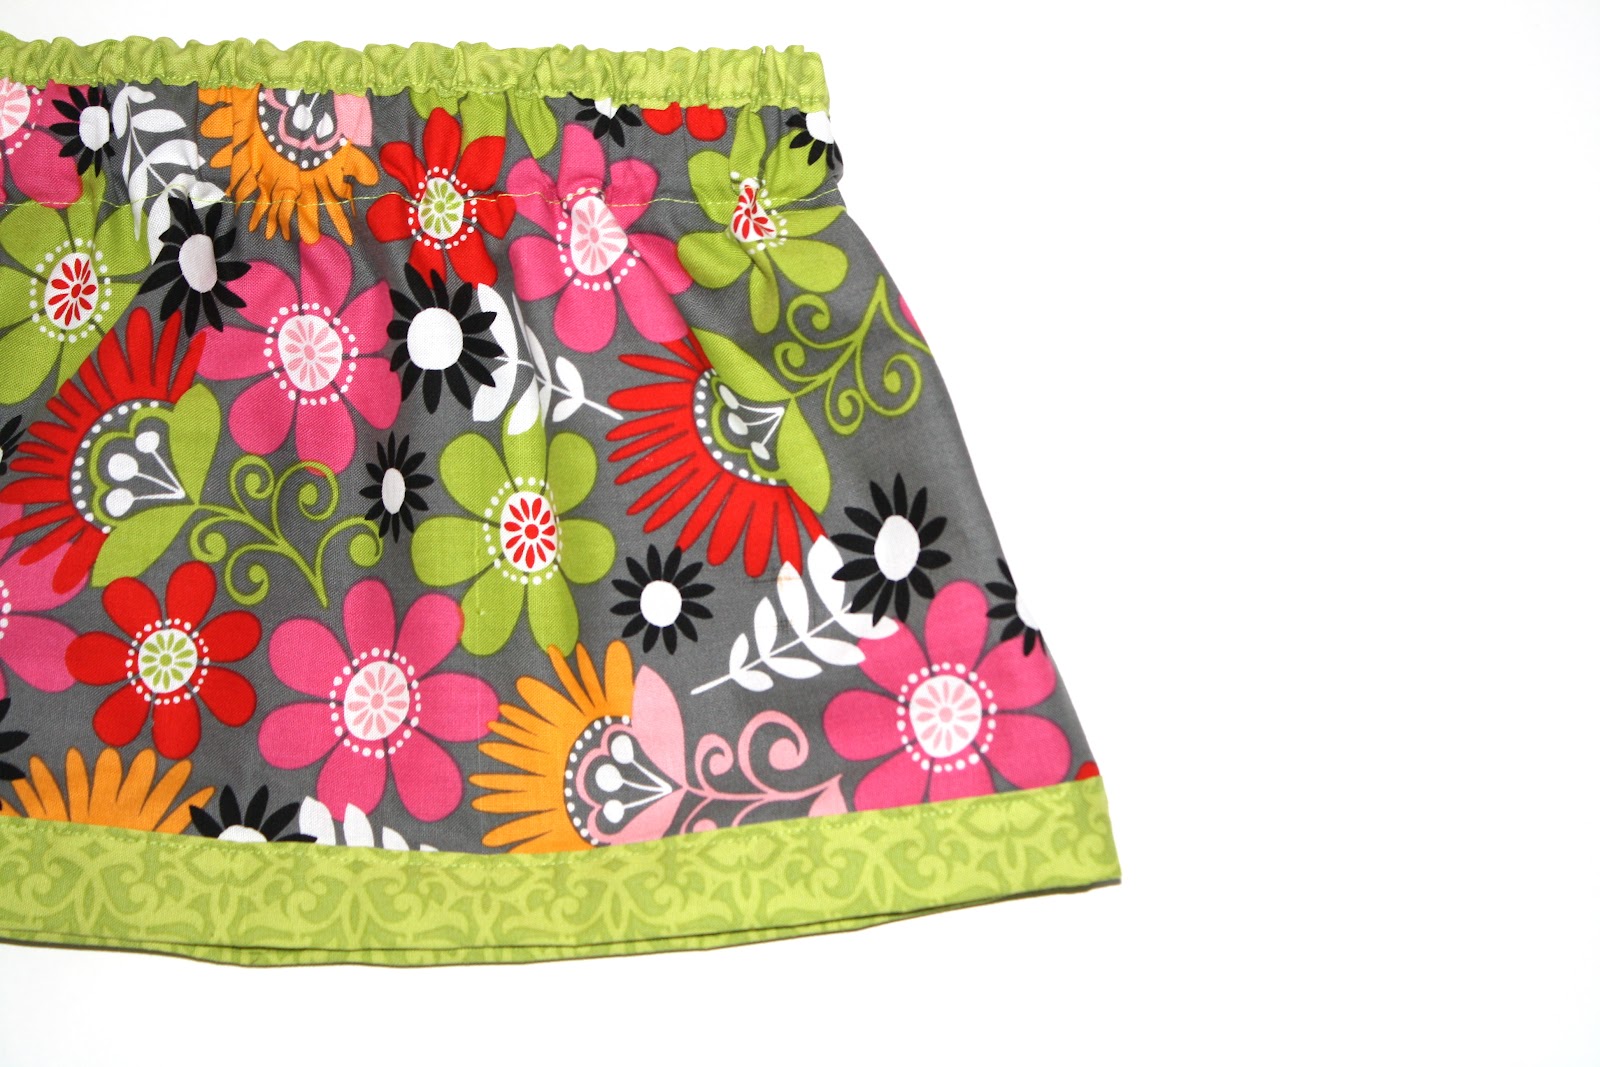
A more recent photo:

This is definitely a much brighter photo.  We are now trying to use more natural light when snapping pictures of our product.  This picture was taken near a window and the skirt is just laying on a .69 cent piece of poster board.  I laid the skirt down on the poster board and then kneeled on a chair to shoot from above.  The poster board background gives of much better white that the light box had for us.  And with the natural light I barely had to do any touch ups on the computer at all.  

2. Consistently Listing New Items
This is so important!  When we first opened our shop, we were working furiously to list items so that our customers had plenty to choose from.  Then we reached 50-60 items in our shop and slowed down a bit.  Our daytime jobs and other things caught up with us and we weren't listing things as consistently.  There was a definite change in how many views we were getting and the amount of sales we were making.  Then summer got here and I had a lot more time on my hands since I am a teacher.  I have been adding new items to the shop each week and the shop has picked back up again.  It just goes to show that you will get what you put in.  This was a big wake up call and we will have to stick to this schedule even as I prepare to head back into the classroom.

3. Offer a Variety of Choices
Its not just about the amount of items in your shop.  Customers want a variety designs to look at.  I see a change in the amount of views and sells we make on items as we offer more choices.  We are starting to add more skirts and dresses in our shop.  There are more views in these shop sections as we add more of these items to the shop.  We have a lot of choices for onesies and tees and customers tend to browse longer in these sections.  

4. Participate with the Etsy Community
It definitely helps to get involved.  Again, I have had a lot more time this summer to do this and I have seen the benefit.  The different teams on Etsy have a lot of great advice to offer.  You can learn a lot from just getting on the forums and reading.  Its also really helpful to have a place to go and ask a question you have and have so many knowledgable people there to respond.  Participating in things like Etsy teams and treasuries, you also drive more people to your shop.  

5. Descriptions, Tags, and Titles...OH MY!
I am no expert on this topic and still probably need to go back and edit many of my listings.  But I have definitely learned some things along the way.  When thinking about what to write, think like the customer.  Use words that you think they would use to search.  I have also found that it helps to use the same words that are in the title in the first line of your description.  Another tip I have picked up along the way is to make sure that you use phrases in your tags.  Instead of using just one word like "baby" and "onesie"  it is better to use it as a phrase like "baby onesie".  Once I started doing this, I saw a definite increase in the amount of views I was getting on my product.  Before when I would list something new it would take quite a while for it to get its first view.  Now, its a matter of hours before they are viewed for first time.  

These are just some of the things that we have picked up along the way.  We still have a lot to learn and hope that we can continue adding to this list as the years go by!


Tuesday, July 24, 2012

New Additions to Our Shop

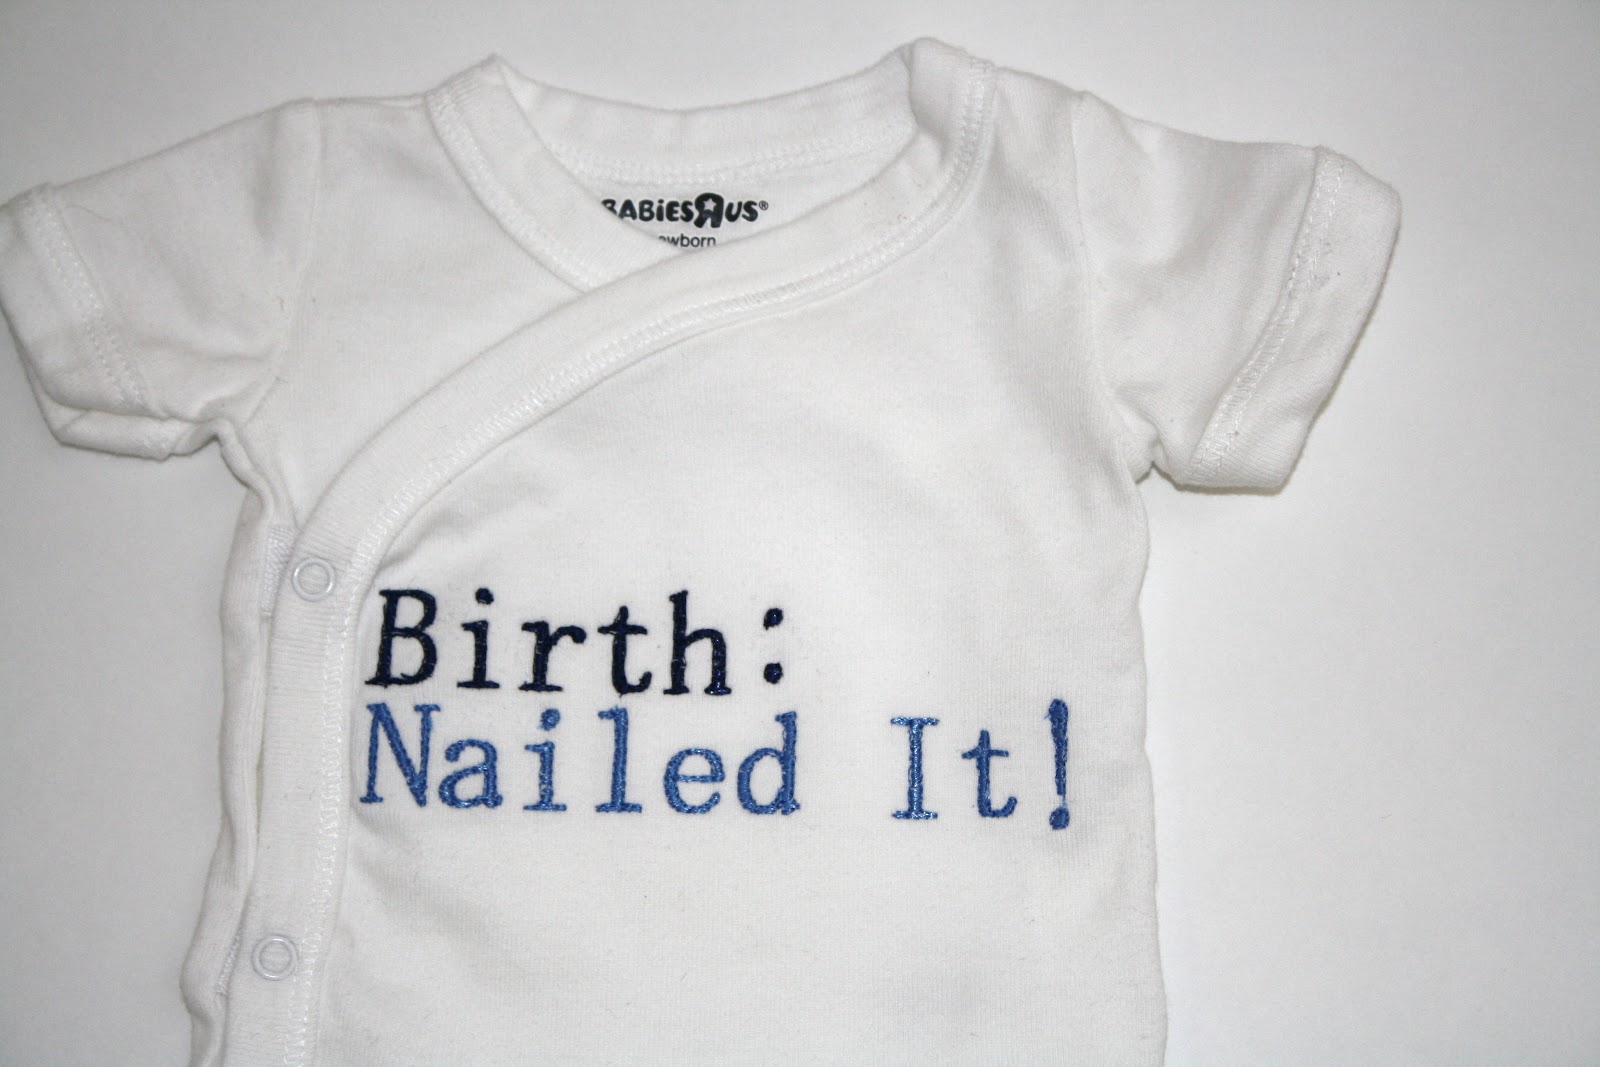
We have been working hard and have added several new things to our Etsy shop.  We have 2 new skirts and 2 new onesies.  


Our goal is to have at least 15 skirt patterns to offer so that is what we are working towards right now.  We have definitely found that when we have several different designs to choose from, we sell more of that item.

Sunday, July 22, 2012

Fabulous Etsy Finds

I had some time this morning to just peruse through Etsy and look at the beautiful items available.  So I thought I would give a little shout out to some of my fellow Etsians.  Here are some of my favorite items:


And if you didn't know, my birthday is next Tuesday.  I turn the big 28!  Getting close to the big 3-0!  So if you were just sitting around racking your brain for an awesome birthday gift for me....you could kindly choose from the items above :)

I probably need to send my husband over to this post!

Hope everyone had a GREAT weekend!

Friday, July 20, 2012

DIY Chevron Disaster

I LOVE LOVE LOVE anything with chevron!  We have been trying to order chevron fabric from Riley Blake for a while and it is always on back order.  I just had to do something with chevron though...I'm a little impatient.  

So I looked through all of my craft supplies and saw that I had a blank canvas, plenty of paint, and some painters tape.  Everything you need to make an awesome piece of DIY chevron wall art!  I quickly scoured Pinterest for a tutorial I could use to make this awesome piece of art.  


Then I very dangerously and optimistically thought, "This isn't going to be that hard at all."  As  I looked through the tutorial and looked at my supplies, I realized that I really didn't have the right size tape because my canvas was pretty small.  But as I said earlier, I am very impatient and just had to have something chevron NOW!


So I very strategically started measuring and marking the middle of the canvas to decide where to lay the tape.  This is where the disaster started.  I spent the next 30 minutes taping and retaping the canvas in a very frustrated way.


I finally ended up with this very lovely very NOT chevron design.  I gave up and decided that this is what it was going to look like and went ahead and started painting.


When it dried and I took the tape off I showed it to Mike to see his reaction.  He very kindly told me that it looked like a road sign.  I then very maturely stuck my tongue out at him.  SO here you have it...my road sign chevron art.  

This is one of the first pieces I have worked on for the gallery wall that is going to go in the craft room.  I have decided to keep it and still put it in the gallery wall.  When people ask it will be a very meaningful piece that signifies that things don't always go the way we think they will.  However, we will all know that it is just because I am too impatient :)

Wednesday, July 18, 2012

Minnie Mouse Party Part 3 - Finally!

Peyton and I went to a play date today and I was reminded that I never wrote Part 3 of Peyton's Minnie Mouse party.  How embarrassing!  What a great blogger I am huh ;)

So without further ado we have the fun games and activities we had at the Minnie Mouse party!


We decided to have a little photo booth for all the kids to take pictures with Minnie and Mickey ears.  Which I shamefully need to have printed and sent to everyone.  I think that will be on my to do list for tomorrow.  Not really doing very well on timeliness am I?  I actually got this idea from Amber over at Wills Casa from Ramona's last birthday party.  We still have the picture of me and Peyton hanging up from the party.  


I also made some little cutouts of Mickey heads and things to decorate with.  The kids could choose from googly eyes, foam stickers, chalk, and jewels to decorate their Mickey/Minnie head.  The older kids that were there got very creative with theirs.  Several of them made 2 or 3 because they were having so much fun!


And lastly we had a Mickey head bean bag toss game.  Mike cut out the Mickey head and the holes and then added a stand so it could sit on its own.  We also took some rice and made a little square bean bag.  Peyton is still playing with this!  I tried to sneak it outside in the backyard because it is quite large.  The next day she tattled on me to Daddy and he drug it back in.

Friday, July 13, 2012

Keep Calm and Sew On Printable

So I have begun working on the elements that will go on my gallary wall for the craft room.  We have lots of different old frames that I am going to spray paint different colors, but I didn't have the pictures to go in them.  I wanted there to be a mix of pictures of Peyton, different graphics, and quotes that will inspire us.  I love all the different versions of the Keep Calm pictures so I decided to make with sewing.  Plus I just downloaded a new version of Photoshop Elements and desperately wanted to play around with it.  So I used a combination of fonts and a sewing machine graphic.  To create this:


Boy do I love Photoshop Elements.  So addicting and fun!  Just click on the picture and you can download this picture for yourself.  Any other ideas to make instead of Sew On?  


Blog Template by Delicious Design Studio